Top 7 Landing Spots in Fortnite Chapter 6 Season 1 for 2026
Fortnite Chapter 6 Season 1 landing spots offer prime loot, vehicles, and safety for top Battle Royale strategies in 2026.
As Fortnite Chapter 6 Season 1 continues to dominate the battle royale landscape well into 2026, players are still rediscovering the renovated island and fine-tuning their drop strategies. The difference between a Victory Royale and an early exit often comes down to those first precious seconds after exiting the Battle Bus. While many contenders instinctively dive into named locations or boss arenas, seasoned loopers know that smart landing spots balance loot density, vehicle access, and early-game safety. The island’s refreshed points of interest introduced unique advantages that have only grown more valuable as the player base adapts. Whether you are a solo tactician or a squad leader, knowing where to touch down can define the entire match.
This guide revisits seven top-tier drop zones that have remained remarkably consistent in quality even two years into the chapter. From hidden forest caches to bustling urban hubs, each location offers a distinct path to gearing up and rotating safely. Note that these recommendations apply exclusively to the main Battle Royale mode, not the separate OG playlist.
7. Magic Mosses: The Hidden Forest Gem
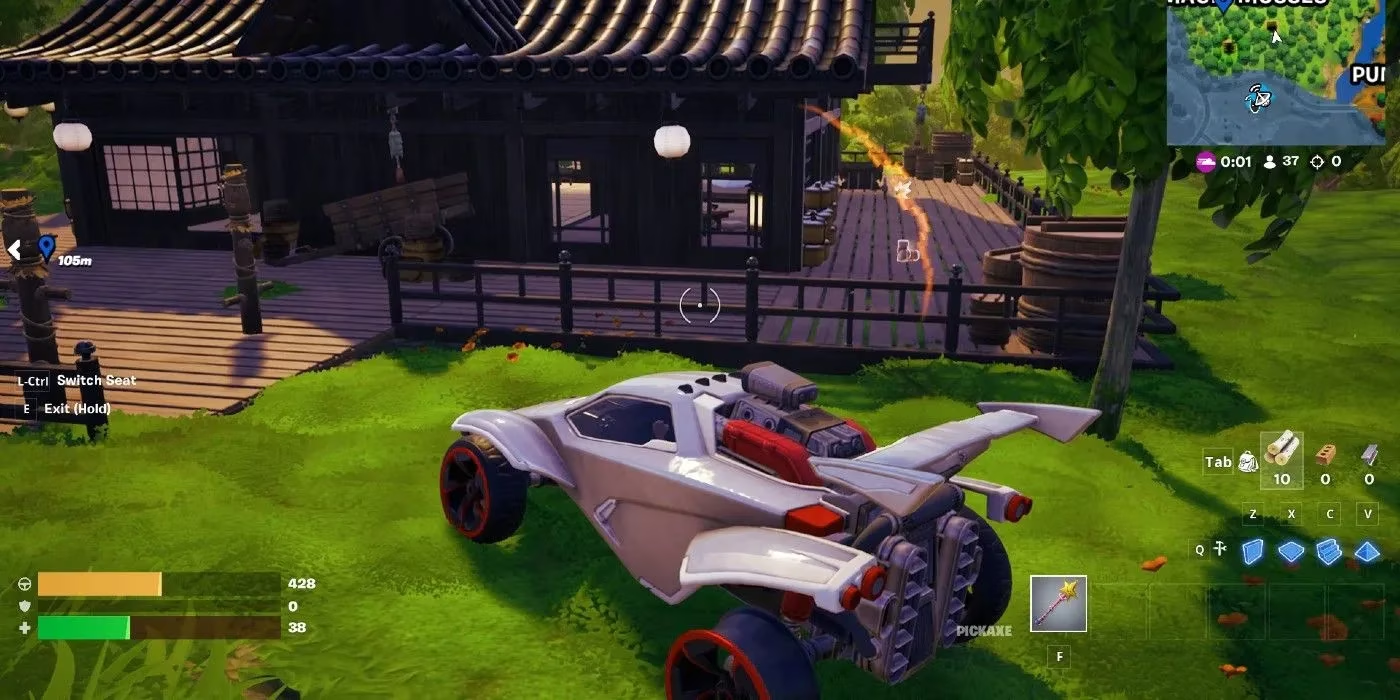
Magic Mosses might look like a quiet woodland on the map, but it consistently delivers one of the strongest uncontested starts available. Nestled in a heavily forested zone, it shelters a rare chest that often contains high-tier weapons, giving alert players an immediate firepower edge. The area also scatters a generous number of standard chests across tree stumps, hidden clearings, and mossy rocks.
What truly elevates this spot is sustainability. Nine Slurp barrels sit within a short radius, making it remarkably easy to restore both health and shield after any early scuffle. A player who takes a few unlucky shots can reset quickly without burning through inventory. After looting, the optimal exit route is to head south to the road and follow it east. There, a vehicle usually waits unlocked and ready. Alternatively, a short eastward trek leads to the Pumped Power landmark, where additional cars can be secured. This seamless transition from quiet loot to quick rotation keeps Magic Mosses a hidden favorite.
6. Canyon Crossing: The Rapid Rotation Hub
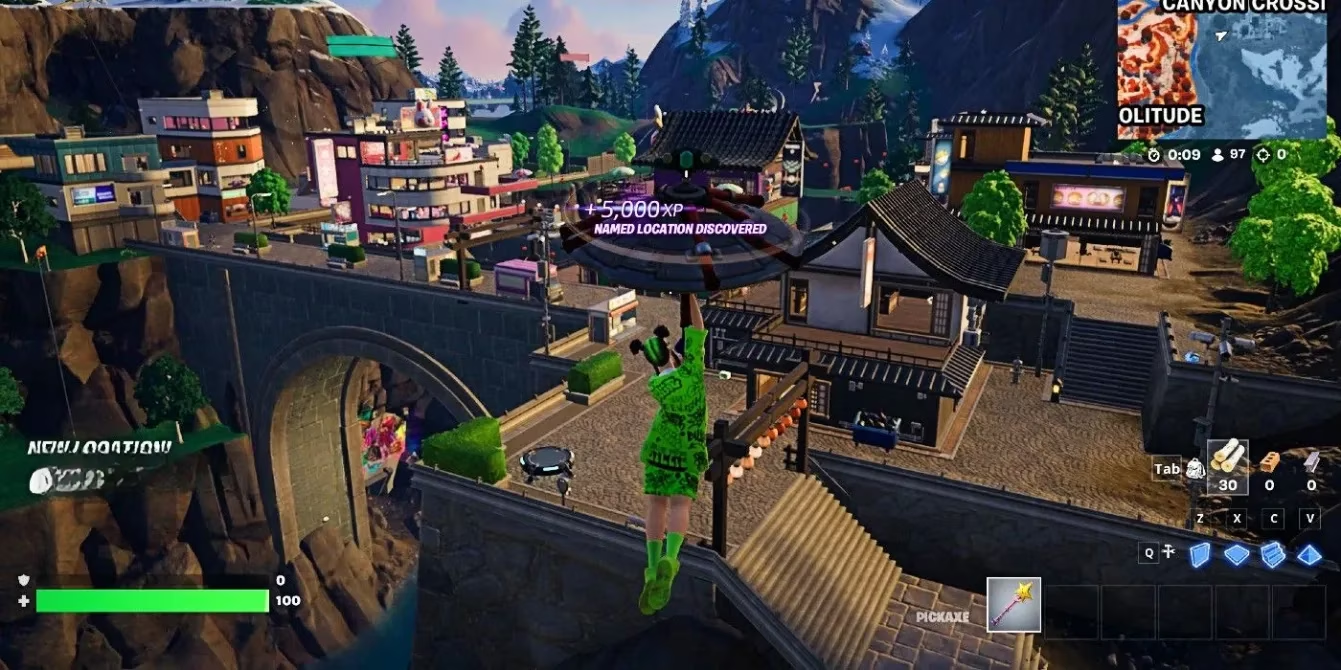
Canyon Crossing earns its place not for the sheer volume of chests but for unmatched vehicle reliability. Touching down here almost guarantees immediate access to a Trailsmasher, standard car, or motorbike. The area itself offers enough floor loot and basic chests to arm a solo player or a duo before they peel out.
The real strategic worth lies in its proximity to several high-traffic zones: Nightshift Forest, Burd, and Warrior’s Watch are all a short drive away. By the time you reach these points of interest, rival squads are often already weakened from initial skirmishes. Rolling in with full health and a vehicle armed with an attached weapon turns the tables instantly. Canyon Crossing functions perfectly as a launchpad—land, gear up in under a minute, grab a ride, and crash someone else’s fight while they are busy healing.
5. Burd: The Gas Station Showdown
Burd, the island’s cheeky take on a certain mega-sized travel stop, is the undisputed hot-drop for players craving immediate combat. While it lacks the sprawling footprint of traditional named locations, it packs an extraordinary density of chests into a compact space. The tight layout means that within seconds of landing, multiple duels ignite among the shelves and fuel pumps.
Surviving Burd requires more than just aim; it demands quick looting and even quicker healing. The spot includes a neat line of Slurp barrels that become vital after cleansing the immediate area. But the action seldom stops there—approaching vehicles constantly deliver new challengers hoping to third-party the chaos. A smart victor grabs everything essential and exits through the back door. A vehicle intentionally parked behind the building offers a stealthy escape route, far safer than the exposed main entrance. Use that window of silence to vanish before the next wave descends.
4. Lost Lake: The Patient Planner’s Paradise
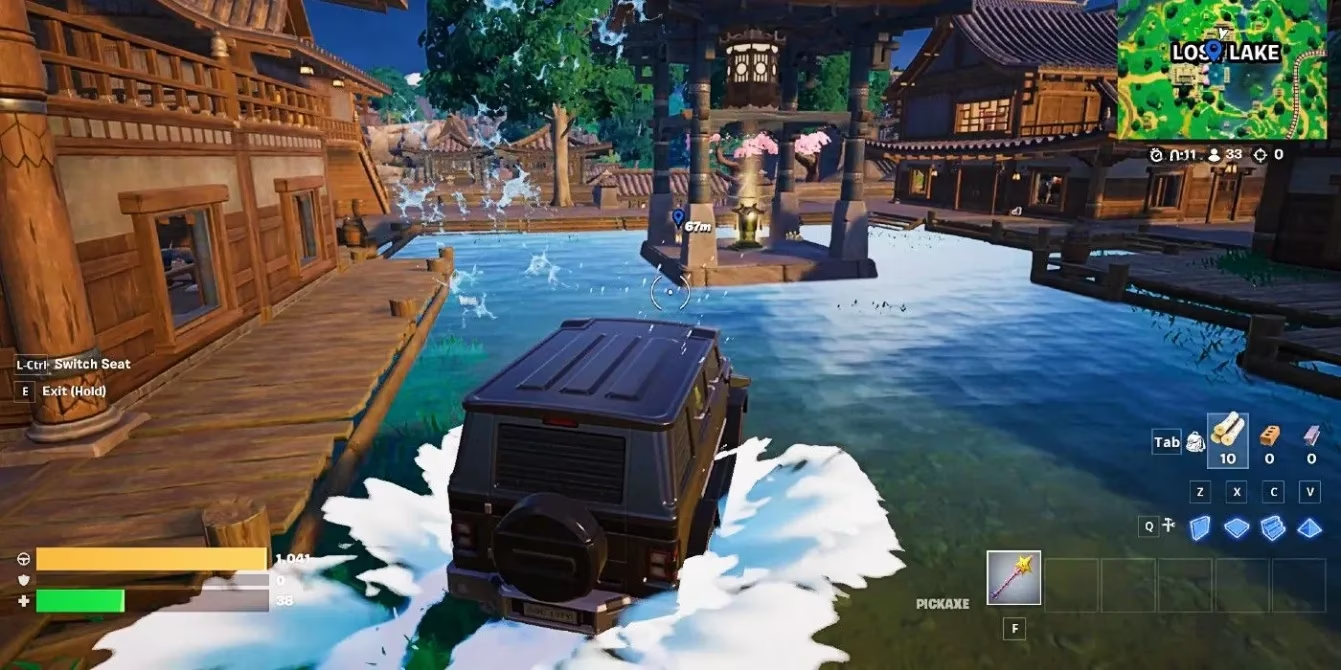
Lost Lake stands out as a sanctuary for methodical players. Many squads overlook it in favor of flashier named spots, leaving its numerous buildings blissfully quiet during the opening minutes. The best approach is to land directly on a rooftop and work downwards through the interiors, collecting weapons and shields without the typical panic.
After stocking up, resist the urge to rush blindly. This location situates far from the map’s center, so waiting for the initial storm circle to appear is a wise move. Once you know where the safe zone is shrinking, head southeast toward the center, using one of the nearby vehicles for a comfortable drive. By then, other teams have thinned themselves out, and you can enter mid-game with full inventory and a clear rotation plan. Lost Lake rewards patience and punishes recklessness.
3. Shogun’s Solitude: Quests, Chests, and Combat
Shogun’s Solitude is far more than a dramatic castle; it is home to one of the rare Job Boards in Fortnite, making it a strategic target for players chasing quest rewards. The seclusion of the location seems tempting, but do not be fooled—many others have the same idea. The central keep contains dozens of chests, and they are fiercely contested.
Prepare for a real battle the moment your boots touch the wooden floors. If you manage to clear the area, a few motorbikes wait near the exits to speed you away. A strong rotation path leads northeast toward Canyon Crossing, where additional loot and vehicles can top off your resources. The road may be long, and enemy players often stalk the same route, so secure a bike fast and keep moving. Shogun’s Solitude blends utility with risk, demanding sharp combat skills right from the start.
2. Masked Meadows: The Grab-and-Go Grind
For efficiency addicts, Masked Meadows offers one of the smoothest lightning-fast starts in the game. The small town clusters cars, a Job Board, chests, and Slurp barrels within a walkable rectangle. However, its popularity means that you will likely have company within seconds.
To tilt the odds, drop onto the building in the southwestern corner. This structure contains a higher concentration of chests than its neighbors, letting you arm up with a shotgun or SMG before an enemy can react. The real prize sits right outside: a Trailsmasher parked invitingly. The moment you have even a basic loadout, slide into the driver’s seat and leave the inevitable gunfight behind. Masked Meadows is not a place to linger—it is a quick pit stop designed for players who value momentum over looting excess.
1. Seaport City: The Ultimate Balanced Drop
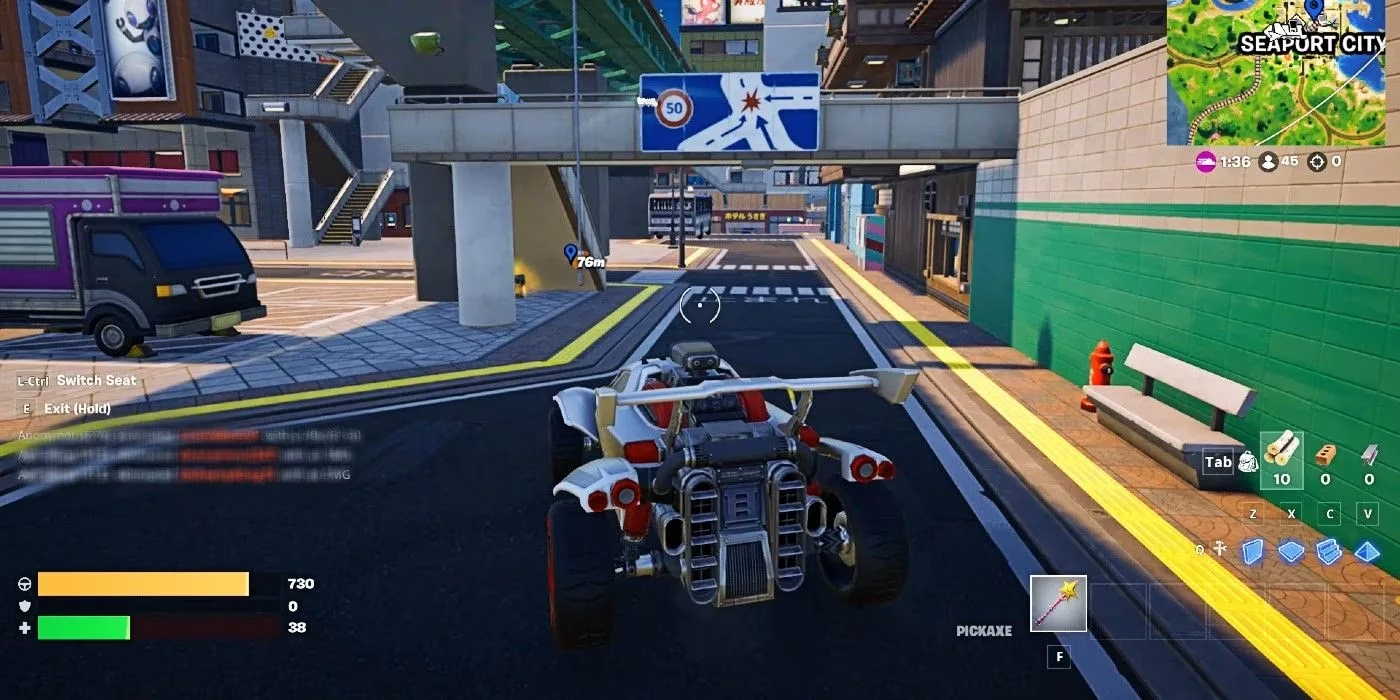
Seaport City clinches the top spot by perfecting the formula of safety, gear, and mobility. Tucked near the southeastern edge of the map, this small town rarely draws the chaotic crowds that plague central hubs. Four separate vehicle spawn points circle the area, guaranteeing a swift escape regardless of where you initially land. A nearby Job Board adds an extra layer of value for task-focused players.
The town is also littered with Slurp barrels, meaning any damage taken during a surprise encounter can be mended almost immediately. A squad can walk out of a heated firefight looking like nothing ever happened, ready for the next rotation with full health and shields. From Seaport City, driving toward the shifting safe zone is a breeze. This blend of low population, abundant healing, and reliable transport cements its reputation as the premiere landing spot in Chapter 6 Season 1—still shining in 2026.
Leave a Reply